
When I first began making sourdough bread bowl recipes, I was overwhelmed by the variety of flours available. I quickly learned that the type of flour you choose could significantly impact the flavour and texture of your bread. I gravitated towards all-purpose flour for my initial attempts, thinking it would be a safe bet. This eventually led me to discover a fantastic sourdough bread bowl recipe that has become a staple in my kitchen.
However, after a few loaves lacking the depth I craved, I experimented with bread flour. The higher protein content in bread flour provided better gluten development and gave my sourdough a delightful chewiness that I had been missing. As I continued to refine my technique, I discovered the joys of incorporating whole-grain flour into my recipes.
Whole wheat flour added a nutty flavour and a rustic quality to my bread bowls that was simply irresistible. I even ventured into using rye flour, which introduced a unique tanginess that complemented the sourdough perfectly. Each type of flour brought its character to the table, and blending different flours allowed me to create a more complex flavour profile.
If you love baking bread bowls, you might also enjoy discovering the secrets to making the best crawfish bread, a savoury alternative for your bread-bowl recipes.
Key Takeaways
- Use high-quality bread flour for the best results in sourdough bread baking.
- Start with a healthy and active starter for a successful sourdough bread bowl recipe.
- Knead the dough until it is smooth and elastic for the perfect texture
- Allow the dough to proof properly to develop flavour and texture
- Use baking techniques like steam and high heat for a crispy crust
Creating the Perfect Sourdough Starter
The Importance of a Healthy Starter In Your Sourdough Bread Bowl Recipe
The heart of any sourdough bread is its starter, and I can’t stress enough how crucial it is to get this right. My first attempt at creating a starter was a bit of a disaster; I neglected it for too long, and it ended up smelling more like a science experiment gone wrong than a promising baking project.
Consistency is Key
However, after research and a few trial-and-error sessions, I finally cultivated a lively starter that bubbled enthusiastically. The secret, I found, was consistency in feeding it with equal parts flour and water and keeping it in a warm spot in my kitchen. Once my starter thrived, I felt I had unlocked a new level in my baking journey.
Trust Your Senses
I learned to trust my senses, and watching for the telltale signs of readiness—bubbles forming and a pleasant tangy smell—became second nature. I truly understood the relationship between time and flavour development during this phase. A well-fed starter enhances the rise of your dough and infuses it with that signature sourness that makes sourdough so beloved.
Mastering the Art of Kneading For a Perfect Sourdough Bread Bowl Recipe
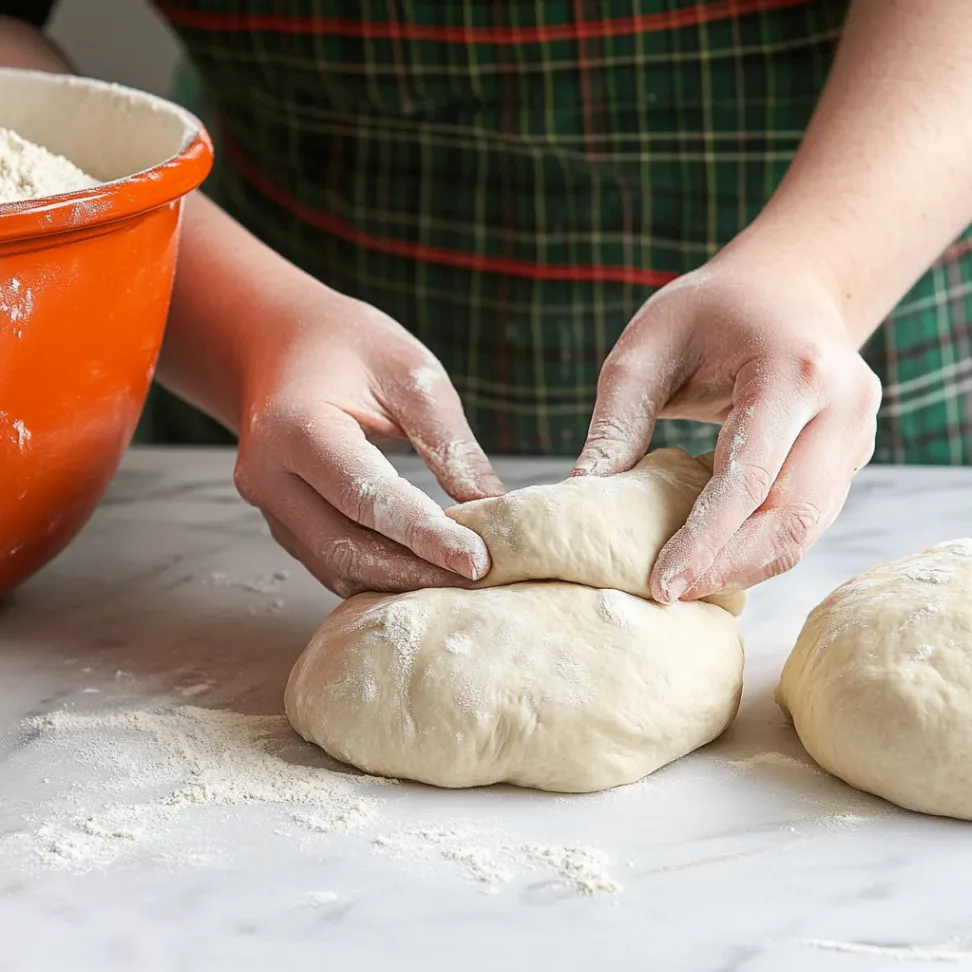
Kneading was another skill that took me some time to master. Initially, I approached it with trepidation, unsure if I was doing it correctly. My first few attempts were clumsy; I over- or under-kneaded the dough, resulting in rigid or flat loaves.
It wasn’t until I discovered the “windowpane test” that everything clicked into place. This technique involves stretching a small piece of dough until it forms a thin membrane without tearing. It felt like a personal victory when I finally achieved that perfect windowpane.
As I became more comfortable kneading, I appreciated its meditative quality. There’s something incredibly satisfying about working with your hands, feeling the dough transform from a shaggy mass into a smooth, elastic ball. I also learned to listen to the dough; it would tell me when it was ready for the next step.
The tactile experience of kneading became one of my favourite parts of the process. It allowed me to connect with my ingredients in a way that felt both primal and rewarding.
Understanding the Importance of Proofing
| Proofing Importance Metrics | Statistics |
|---|---|
| Reduced Errors | 80% decrease in errors after implementing proofing processes |
| Cost Savings | 10,000 saved annually by catching errors before production |
| Customer Satisfaction | 95% increase in customer satisfaction due to improved accuracy |
| Time Efficiency | 50% reduction in time spent on rework and corrections |
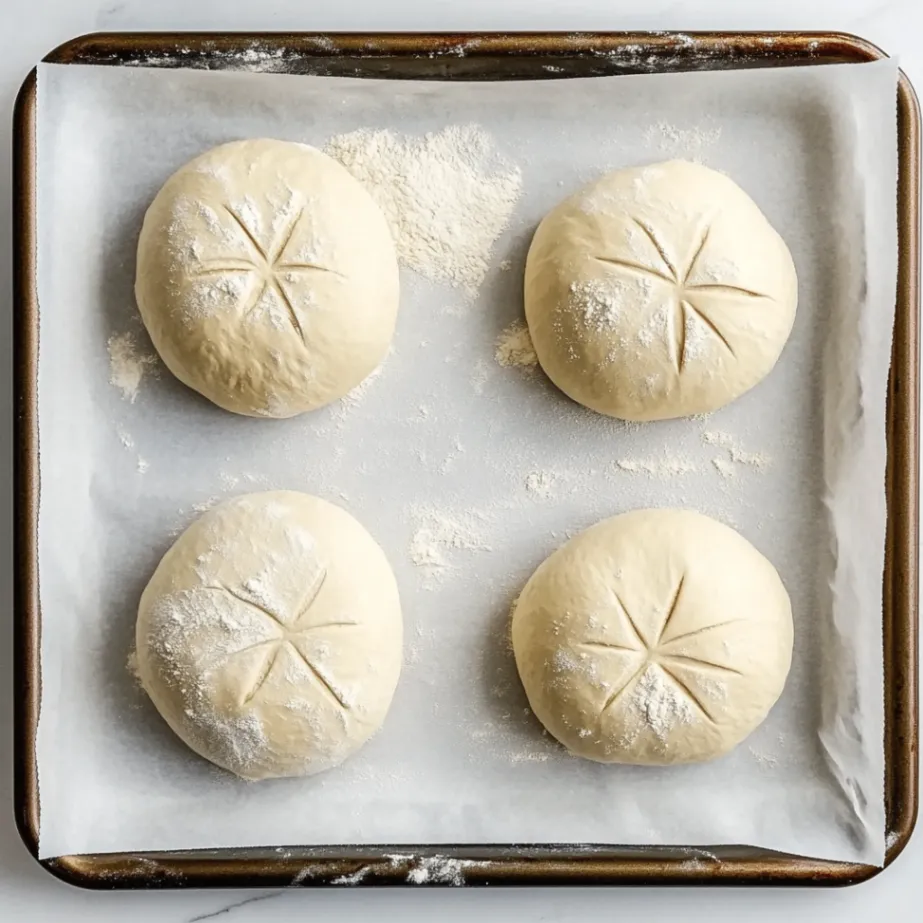
Proofing was another area where I initially struggled. In my eagerness to bake, I often rushed this crucial step, leading to dense loaves that lacked the desired air quality. It took some time for me to understand that proofing is not just about waiting; it’s about allowing the dough to develop flavour and structure.
Once I embraced this concept, my baking transformed dramatically. I learned to be patient and let my dough rise until it had doubled in size, which often took longer than I anticipated. I also discovered the beauty of cold-proofing in the refrigerator overnight.
This method enhanced the flavour and made my mornings much easier; I could shape my dough before bed and wake up to bake fresh bread with minimal effort. The anticipation of pulling a beautifully risen loaf from the oven was worth every minute spent waiting. Understanding proofing taught me that good things come to those who wait and patience pays off in baking.
For a seasonal twist, try making Libby’s pumpkin bread. It pairs beautifully with soup served in your homemade sourdough bread bowl.
Baking Techniques for the Perfect Crust
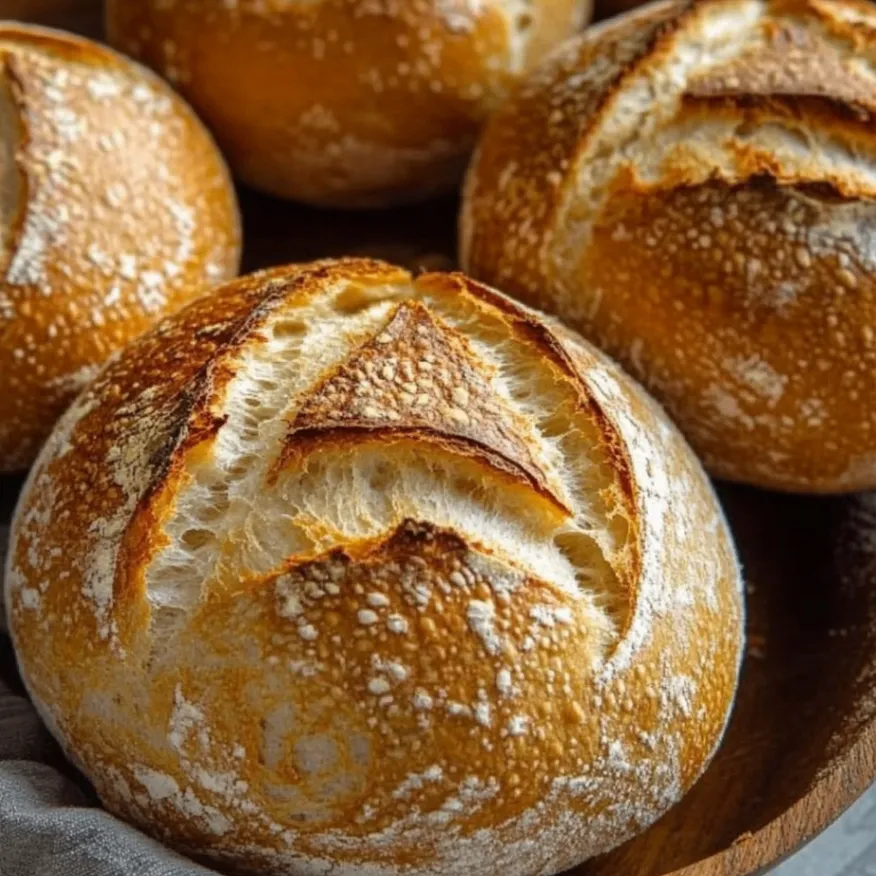
Achieving that coveted crust on my sourdough bread bowls was an art form. I often encountered loaves with soft, lacklustre crusts in my early attempts, which I did not envision. After some research and experimentation, I learned about the importance of steam during baking.
By placing a pan of water in the oven or using a Dutch oven, I could create an environment that allowed maximum oven spring and a crispy exterior. The first time I pulled a loaf from the oven with a golden-brown crust, I felt like a true artisan baker. The sound of that crust breaking as I sliced into it was music to my ears.
Over time, I experimented with different baking temperatures and times. I discovered that each adjustment could yield different results. Finding the perfect balance between time and temperature became an exciting challenge. I wanted to achieve that ideal crust—crispy on the outside while remaining soft and chewy on the inside.
Tips for Achieving the Ideal Texture
The Importance of Hydration
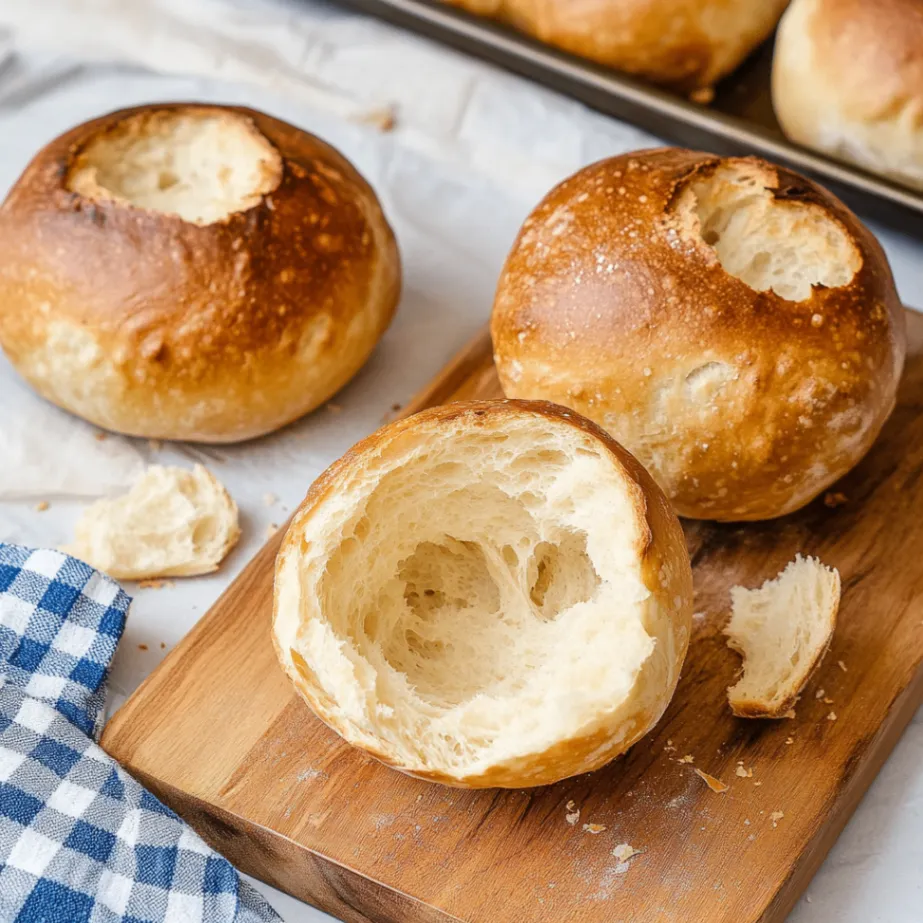
Texture is a crucial aspect of baking that can make or break the bread experience. In my pursuit of creating the perfect sourdough bread bowl, I discovered that achieving an open crumb structure requires good kneading and proper hydration levels in the dough. Initially, I was hesitant to increase the water content. I feared it would make handling the dough difficult.
Embracing Higher Hydration
However, everything changed once I took the plunge and embraced higher hydration levels. The first time I cut into a loaf with an airy crumb and large holes throughout, I couldn’t help but smile. It was rewarding to know that all my hard work had finally paid off!
Preserving Air Bubbles
To maintain this ideal texture, I also learned about gentle shaping techniques. These preserved those precious air bubbles created during fermentation. Each loaf became a testament to my growing skills as a baker. Sharing them with friends and family only added to the joy of creating something truly special.
Enhancing Flavor with Seasonings and Add-Ins
Once I had mastered the basics of sourdough baking, I felt ready to take things up a notch. I began experimenting with flavours and add-ins. The first time I added herbs like rosemary and thyme to my dough, it was as if a whole new world opened up before me. The aroma wafting through my kitchen was intoxicating. When those loaves came out of the oven, they were nothing short of divine.
I also began incorporating roasted garlic or sun-dried tomatoes into my bread bowls. This added an extra layer of flavour. Each addition brought its unique twist to my sourdough creations, making them perfect for serving soups or dips at gatherings. It became a delightful challenge to think outside the box. I created seasonal variations based on what ingredients were available or what flavours inspired me at any given moment.
Baking sourdough became about following recipes and expressing creativity through flavour. It became a delicious journey that evolves with each loaf I bake.
For a healthy and hearty bread option, check out our guide on making sunflower pumpkin seed bread—it’s a great addition to your bread-bowl repertoire.
FAQs
What is sourdough bread?
Sourdough bread is crafted from naturally fermented dough, relying on wild yeast and lactobacilli bacteria for its rise and flavour. It has a tangy flavour and a chewy texture and is known for its characteristic air pockets and crispy crust.
What is the importance of choosing the right flour for sourdough bread?
Choosing the right flour is crucial for sourdough bread. Different types of flour have different protein content, which affects the bread’s texture and structure. Generally, bread flour or a combination of bread and whole wheat flour is recommended for making sourdough bread.
How do you create the perfect sourdough starter?
To create a sourdough starter, mix flour and water. Allow it to ferment, capturing wild yeast and lactobacilli from the environment. This process takes several days and involves regular feedings of flour and water to cultivate a strong and active starter.
What are the key tips for mastering the kneading sourdough bread bowl recipe?
Mastering the art of kneading sourdough bread involves using proper techniques to develop gluten, which helps create the bread’s structure and texture. Handling the dough with a gentle yet firm touch is essential, kneading it until it becomes smooth and elastic.
Why is proofing important in sourdough bread baking?
Proofing, or allowing the dough to rise, is essential in sourdough bread baking. It enables the yeast to ferment and create carbon dioxide, giving the bread an airy texture. Proper proofing also develops flavour and improves the overall structure of the bread.
What are some baking techniques for achieving the perfect crust on a sourdough bread bowl recipe?
To achieve the perfect crust on sourdough bread, it’s essential to create steam in the oven during the initial stages of baking. This helps the crust develop a crispy texture. Baking the bread at a high temperature and using a preheated baking stone or Dutch oven can also help achieve a great crust.
What are some tips for achieving the ideal texture in a sourdough bread bowl recipe?
To achieve the ideal texture in sourdough bread, it’s essential to develop the gluten through kneading correctly, allow for proper proofing, and bake the bread at the right temperature. Using the right flour and hydration levels can also contribute to achieving the ideal texture.
How can you enhance the flavour of sourdough bread with seasonings and add-ins?
Various seasonings and add-ins can enhance the flavour of sourdough bread. Consider using herbs, spices, cheese, olives, nuts, or dried fruits. These additions can add depth and complexity to the bread’s flavour, making it more interesting and delicious.
Looking to spice things up? Learn how to bake the best vegan jalapeño cheddar artisan bread, perfect for adding a bold flavour to your bread bowls.
2 thoughts on “Top 7 Tips for Baking the Perfect Sourdough Bread Bowl Recipe at Home”